
Maintaining Electric Fencing Systems: Inspection, Troubleshooting & Long-Term Care
Maintaining an electric fencing system is essential for consistent performance, animal safety, and long-term reliability. Even the best-designed electric fence will fail without regular inspection and proper maintenance.
This guide explains how to maintain electric fencing systems effectively, covering routine inspections, vegetation control, voltage testing, grounding checks, and common troubleshooting scenarios for cattle operations.
Why Electric Fence Maintenance Matters
Electric fencing systems rely on continuous electrical flow. Small issues—such as vegetation contact, loose connections, or grounding problems—can significantly reduce fence voltage and effectiveness.
- Maintains consistent shock levels
- Prevents fence breaches and livestock escapes
- Reduces emergency repairs and downtime
- Extends the lifespan of fence components
Well-maintained electric fencing systems typically require less labor and deliver better long-term return on investment. Regular inspections identify problems before they escalate into system failures that compromise animal containment and safety.
Maintenance Schedule: How Often to Inspect Electric Fences
A structured inspection schedule prevents minor issues from becoming system failures. Frequency should be adjusted based on fence length, vegetation growth rates, weather conditions, and stocking density.
Daily or Weekly Visual Checks
- Check for fallen branches or debris
- Look for sagging wires or broken posts
- Ensure gates are properly closed and energized
- Observe animal behavior for signs of inadequate shock
Monthly System Inspections
- Test fence voltage at multiple locations
- Inspect insulators for cracks or wear
- Check energizer operation and indicator lights
- Verify all connections remain tight and corrosion-free
- Walk fence line to identify emerging issues
Seasonal Maintenance
- Vegetation control during growing seasons
- Grounding checks in dry or frozen soil conditions
- Battery and solar system inspection before winter
- Post-storm damage assessment
- Wire tension adjustment after temperature changes
High-traffic areas, locations near heavy vegetation, and sections exposed to wildlife activity may require more frequent inspection. Documenting inspection results helps identify recurring problem areas and justifies equipment upgrades when necessary.
Step-by-Step Electric Fence Maintenance Process
Systematic fence maintenance follows a logical sequence from visual inspection through technical testing. This approach ensures all potential failure points receive attention before problems compound into system-wide issues.

Video Guide: Testing and Maintaining Electric Cattle Fences
This demonstration covers proper voltage testing techniques, grounding system evaluation, and fault detection methods used by experienced cattle producers. Key topics include using digital voltage meters at multiple fence locations, identifying common grounding faults that reduce shock effectiveness, and systematic troubleshooting procedures that isolate problems quickly. The video emphasizes testing at the furthest point from the energizer where voltage drop is most likely to occur, and demonstrates proper ground probe placement for accurate readings. Effective voltage for cattle containment should measure at least 4,000 to 5,000 volts under load conditions.
Step 1: Inspect Fence Line Integrity
Walk the fence line to identify physical damage. Look for broken wires, loose connectors, leaning posts, and areas where wildlife or equipment may have impacted the fence. Pay particular attention to corners, gates, and high-traffic areas where mechanical stress concentrates.
- Repair broken conductors immediately using proper splice connectors
- Re-tension sagging wires to maintain proper clearance
- Replace damaged posts or braces before structural failure occurs
- Check for rust or corrosion on wire connections
- Verify insulators remain securely attached to posts
Broken wires create open circuits that prevent electricity from reaching distant fence sections. Even minor breaks significantly reduce system effectiveness and should be addressed during the same inspection visit.
Step 2: Control Vegetation Along the Fence
Vegetation contact is the most common cause of voltage loss in electric fencing systems. Grass, weeds, and brush continuously drain electrical energy into the ground, reducing shock intensity and allowing animals to challenge the fence.
- Mow or spray fence lines regularly during active growth periods
- Remove fallen branches promptly to prevent wire damage
- Maintain a clear zone beneath fence wires at least 12 inches wide
- Use herbicides rated for agricultural fence line maintenance
- Trim overhanging branches before they contact wires
High vegetation load may require higher-output energizers or more frequent maintenance visits. In pastures with aggressive weed growth, weekly vegetation control during spring and summer prevents voltage from dropping below effective levels. Some producers install offset brackets to position wires away from posts, creating additional clearance from vegetation growing along the fence line.
Step 3: Test Fence Voltage
Use a digital fence tester or voltmeter to measure voltage at the energizer and at the far end of the fence. Voltage testing provides objective data about system performance and helps locate specific problem areas.

- Test near the energizer output terminal to establish baseline voltage
- Test at distant fence sections to measure voltage drop
- Test at multiple intermediate points along long fence runs
- Compare readings for voltage drop patterns
- Document readings to track performance trends over time
For cattle fencing, voltage should typically remain above 4,000 volts under load, with 5,000 volts or higher preferred for reliable containment. Significant drops between test points indicate grounding faults, poor connections, or excessive vegetation contact. A voltage drop exceeding 1,000 volts between the energizer and the furthest fence point suggests immediate troubleshooting is required. Test during dry conditions when grounding is most challenging, as fences that perform adequately in wet soil may fail during drought.
Step 4: Inspect Insulators and Connectors
Insulators prevent electrical leakage into posts. Over time, UV exposure, weather, and mechanical stress can degrade insulators, creating hidden current drains that reduce fence effectiveness.
- Replace cracked or brittle insulators before complete failure
- Ensure tight connections at joints, corners, and gates
- Use corrosion-resistant connectors rated for outdoor use
- Check that insulators remain properly seated on posts
- Verify wire is not rubbing against posts or metal components
Failed insulators allow electricity to leak through posts into the ground, creating the same effect as vegetation contact. Plastic insulators become brittle after years of sun exposure and may crack without obvious visual damage. Porcelain insulators offer superior longevity but cost more initially. All connections should be mechanically secure before energizing the fence.
Step 5: Check the Energizer
The energizer is the power source of the system and should be inspected regularly to verify proper operation. Most modern energizers include diagnostic features that simplify troubleshooting.
- Verify indicator lights or display readings show normal operation
- Ensure proper power supply for AC-powered units
- Listen for consistent pulse rhythm without irregular clicking
- Check for error codes or warning lights on digital models
- Verify output voltage matches manufacturer specifications
Battery-powered and solar energizers require additional checks for charge levels, battery condition, and solar panel cleanliness. Clean solar panels monthly during dusty conditions to maintain charging efficiency. Replace batteries according to manufacturer recommendations, typically every two to three years for sealed lead-acid batteries. Weak batteries reduce output voltage even when the energizer appears to function normally.
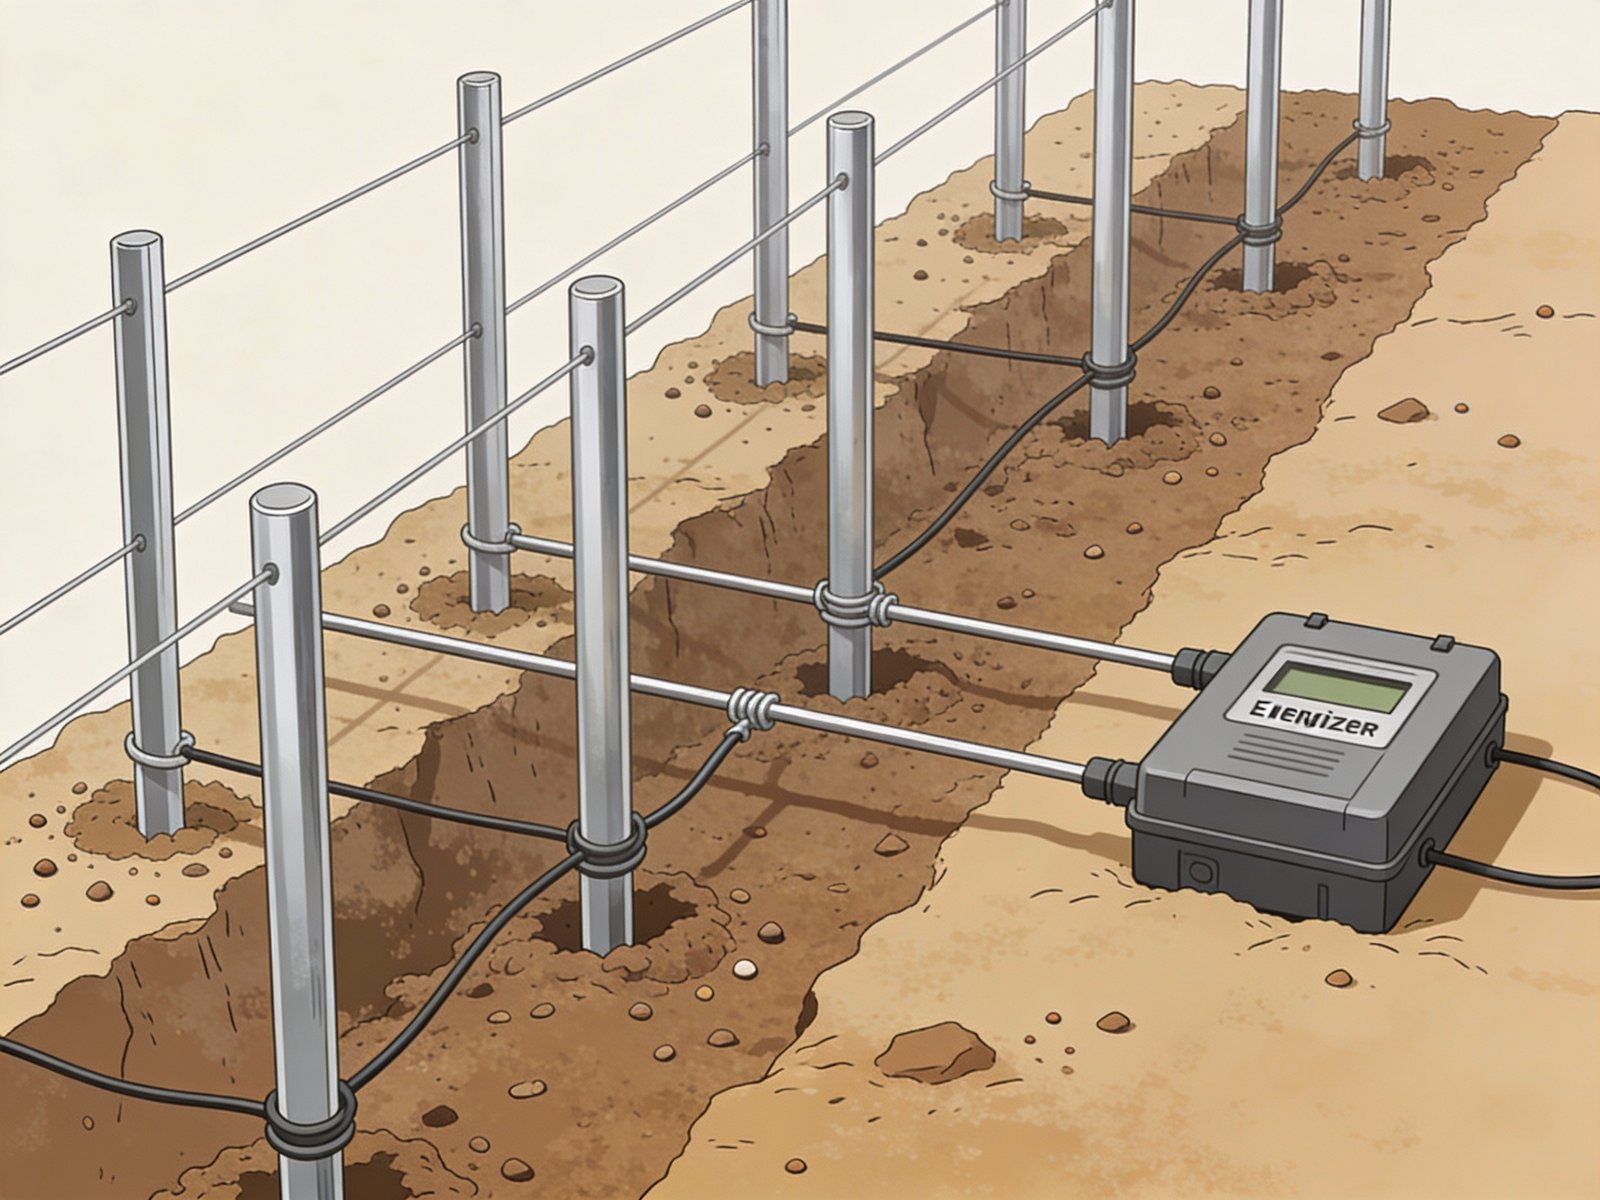
Step 6: Inspect the Grounding System
Grounding is critical to fence performance. A poor ground system results in weak shock, even when energizer output is sufficient. The ground system completes the electrical circuit, and any resistance in this path directly reduces shock intensity.
- Ensure ground rods remain fully driven at least six feet deep
- Check grounding wire connections for corrosion and tightness
- Water ground rod area during prolonged dry conditions
- Test ground system voltage to verify adequate performance
- Verify ground rods are spaced at least 10 feet apart
Additional ground rods may be required in sandy, rocky, or frozen soil conditions. Use at least three ground rods for most cattle fencing applications, with more rods needed for higher-output energizers or longer fence lines. Ground system voltage should measure less than 400 volts when tested during operation; readings above this threshold indicate inadequate grounding capacity. Galvanized steel ground rods resist corrosion better than copper-coated rods in acidic soils. Ground rod clamps must be tight and corrosion-free to maintain low-resistance connections.
Common Electric Fence Problems and Solutions
Understanding typical failure modes helps diagnose problems quickly and restore fence function with minimal downtime. Most electric fence issues fall into predictable categories with established solutions.
Low Voltage on Fence Line
- Cause: Vegetation contact draining current to ground
- Solution: Clear fence line of all vegetation and retest voltage
- Prevention: Establish regular mowing or spraying schedule
Fence Works Near Energizer but Not Far Away
- Cause: Poor wire connections creating high resistance or inadequate grounding
- Solution: Inspect and tighten all splice connections; add ground rods if needed
- Prevention: Use quality connectors and verify ground system capacity during installation
Intermittent Fence Operation
- Cause: Loose wires, faulty insulators, corroded connections, or unstable power supply
- Solution: Tighten all connections, replace damaged insulators, and verify energizer power source
- Prevention: Schedule regular connection inspections and use weather-resistant components
Voltage Drops in Dry Weather
- Cause: Dry soil increases ground system resistance
- Solution: Water around ground rods or add additional rods to increase soil contact area
- Prevention: Design ground system with extra capacity for seasonal variation
Animals Not Respecting Fence
- Cause: Insufficient voltage reaching fence line or poor animal training
- Solution: Verify voltage exceeds 4,000 volts; retrain animals to respect fence
- Prevention: Use adequate energizer capacity and maintain vegetation-free fence line
Systematic troubleshooting isolates problems faster than random component replacement. Begin testing at the energizer to verify output, then work outward along the fence line measuring voltage at regular intervals. Significant voltage drops between test points indicate problems in that fence section.
Preventive Maintenance Best Practices
Proactive maintenance reduces emergency repairs, extends equipment lifespan, and maintains consistent fence performance. Establishing routine procedures ensures critical tasks receive attention before problems develop.
- Keep a fence inspection checklist documenting voltage readings, repairs, and component replacements
- Schedule seasonal maintenance reminders aligned with vegetation growth cycles
- Train staff to recognize early warning signs of failing insulators, loose connections, and vegetation encroachment
- Document repairs and upgrades to identify recurring problem areas
- Maintain spare parts inventory including insulators, connectors, and wire for immediate repairs
- Photograph fence condition during inspections to track deterioration over time
- Test backup energizers periodically to ensure readiness
- Review maintenance records annually to justify equipment upgrades
Preventive maintenance reduces emergency repairs and extends fence lifespan significantly. Operations that implement structured maintenance programs report fewer animal escapes, lower labor costs, and better return on fencing investment compared to reactive maintenance approaches. The time invested in regular inspections is substantially less than emergency repairs during livestock escapes or system failures.
Maintenance Costs and Labor Expectations
Understanding typical maintenance time requirements helps plan labor schedules and budget for fence system operation. Actual time varies with fence length, terrain, vegetation density, and system complexity.
| Maintenance Task | Frequency | Typical Time | Critical Period |
|---|---|---|---|
| Visual inspection | Weekly | 15-30 minutes | Year-round |
| Vegetation control | Seasonal | 1-3 hours | Spring through fall |
| Voltage testing | Monthly | 15 minutes | Dry conditions |
| Grounding system check | Seasonal | 30 minutes | Before dry season |
| Insulator inspection | Annually | 1-2 hours | Late winter |
| Full system audit | Annually | 2-4 hours | Before breeding season |
Material costs for routine maintenance remain minimal compared to initial installation expenses. Annual maintenance typically requires replacement of a small percentage of insulators, occasional wire splices, and herbicide for vegetation control. Battery replacement for solar or battery-powered energizers represents the largest recurring cost, typically ranging from fifty to one hundred fifty dollars every two to three years depending on battery capacity.
Operations can reduce maintenance labor by designing fences with adequate energizer capacity, using quality components that resist weather damage, and implementing effective vegetation control strategies during installation. Permanent fences justify higher initial investment in durable materials that minimize long-term maintenance requirements.
How Maintenance Fits into a Complete Electric Fencing System
Maintenance connects all components of an electric fencing system into reliable long-term performance. Each system element depends on proper maintenance to function effectively.
Energizer + Fence Wire + Insulators + Grounding + Maintenance = Reliable Performance
Neglecting maintenance undermines even the most advanced fencing design. A high-output energizer cannot compensate for vegetation draining voltage to ground. Quality wire loses effectiveness when connections corrode. Proper grounding fails when ground rods work loose or connections deteriorate.
Integrated system management considers how maintenance requirements influence initial design decisions. Fence layouts that simplify access for vegetation control reduce long-term labor. Energizer selection should account for voltage loss from realistic vegetation loads rather than ideal conditions. Ground system design should include capacity margins for seasonal soil condition changes.
Maintenance also reveals when system upgrades become cost-effective. Frequent repairs to aging wire may justify replacement with higher-quality conductor. Recurring voltage problems despite diligent maintenance suggest inadequate energizer capacity or insufficient grounding. Documenting maintenance costs and failure patterns provides objective data supporting capital improvement decisions.
For comprehensive guidance on system design and component selection, review resources on choosing the best electric fence systems for cattle and proper electric fence installation techniques that minimize maintenance requirements.
Frequently Asked Questions
How often should electric fences be maintained?
Visual checks should be weekly, with full system inspections monthly and comprehensive seasonal maintenance as conditions change. High-vegetation areas or locations with frequent animal pressure may require more frequent attention. Adjust inspection frequency based on fence performance and observed problems.
What is the most common cause of electric fence failure?
Vegetation contact and poor grounding are the leading causes of voltage loss and inadequate shock delivery. Vegetation problems occur gradually as plants grow, while grounding issues often emerge during seasonal soil condition changes. Both problems are preventable through regular maintenance.
Can electric fences work in dry soil?
Yes, but additional grounding rods and maintenance may be required. Dry soil increases electrical resistance, reducing ground system effectiveness. Installing extra ground rods increases soil contact area and maintains adequate grounding during drought conditions. Some producers water around ground rods during extended dry periods to maintain soil conductivity.
How do I know if my fence voltage is adequate?
For cattle containment, fence voltage should measure at least 4,000 volts under load, with 5,000 volts or higher preferred. Test at multiple locations along the fence line, particularly at points farthest from the energizer. Consistent voltage above 4,000 volts indicates proper system function.
What tools do I need for electric fence maintenance?
Essential tools include a digital fence voltage tester, wire cutters, fence pliers, replacement insulators, splice connectors, and basic hand tools. A fault finder that measures both voltage and current helps locate specific problem areas quickly. Maintaining a small inventory of common replacement parts enables immediate repairs during inspections.
How long do electric fence components typically last?
Quality energizers often function for ten to fifteen years with minimal maintenance. High-tensile wire lasts twenty years or more when properly installed and maintained. Insulators typically require replacement every five to ten years depending on UV exposure and material quality. Ground rods remain effective indefinitely if properly installed, though connections may require periodic maintenance.
Should I turn off my electric fence during maintenance?
Turn off the energizer when performing repairs involving direct contact with wires, such as splicing broken conductors or replacing insulators. Visual inspections and voltage testing should be performed with the fence energized to accurately assess system performance. Always follow safety procedures and use insulated tools when working near energized fences.
Next Steps
Effective electric fence maintenance builds on proper system design, quality installation, and appropriate component selection. Continue developing expertise in related areas to maximize fencing system performance and reliability.
- Review electric fence installation best practices to ensure proper initial setup
- Optimize grounding system design for reliable year-round performance
- Learn systematic troubleshooting electric fence problems techniques
- Upgrade energizer capacity if voltage consistently falls below recommended levels
- Implement rotational grazing practices that reduce fence line pressure
- Document maintenance activities to identify cost-effective improvement opportunities
Questions about maintaining your electric fencing system? Contact cattle fencing experts at cattlefencewire.com/contact for personalized guidance on optimizing fence performance and reducing maintenance requirements.
Related Resources
Expand your electric fencing knowledge with these supporting guides focused on improving fence reliability, safety, and long-term performance for cattle operations.
- Electric Fence Installation Best Practices – Proper installation techniques that minimize future maintenance requirements and ensure reliable system performance from the start.
- Grounding System Design and Testing – Comprehensive guidance on designing, installing, and testing ground systems that maintain effectiveness across all soil conditions and seasons.
- Troubleshooting Low Voltage on Electric Fences – Systematic diagnostic procedures for identifying and resolving voltage loss, intermittent operation, and shock delivery problems.
- Choosing the Right Energizer for Cattle – Selection criteria for matching energizer capacity to fence length, vegetation load, and animal containment requirements.
- Seasonal Electric Fence Management Tips – Strategies for adapting maintenance practices to changing weather conditions, vegetation growth cycles, and soil moisture levels.