
Electric Cattle Fencing Systems: How They Work, Design, and Management
A complete systems-level guide to how electric cattle fencing works, how to design it, and how to manage it across real-world operations.
This guide connects to 20+ in-depth articles covering electric cattle fencing systems, including installation, grounding, energizers, safety, and ROI.
How to use this guide: New to electric cattle fencing systems? Read top-down to understand how the whole system works. Looking for solutions? Jump to the section you need and follow the linked sub-guides.
Part 1: Fundamentals & Theory
Electric cattle fencing systems are the foundation of modern livestock management, combining energizers, wires, grounding, and animal behavior into one coordinated system. This part explains how the system works as a whole, so later design and management decisions make sense.
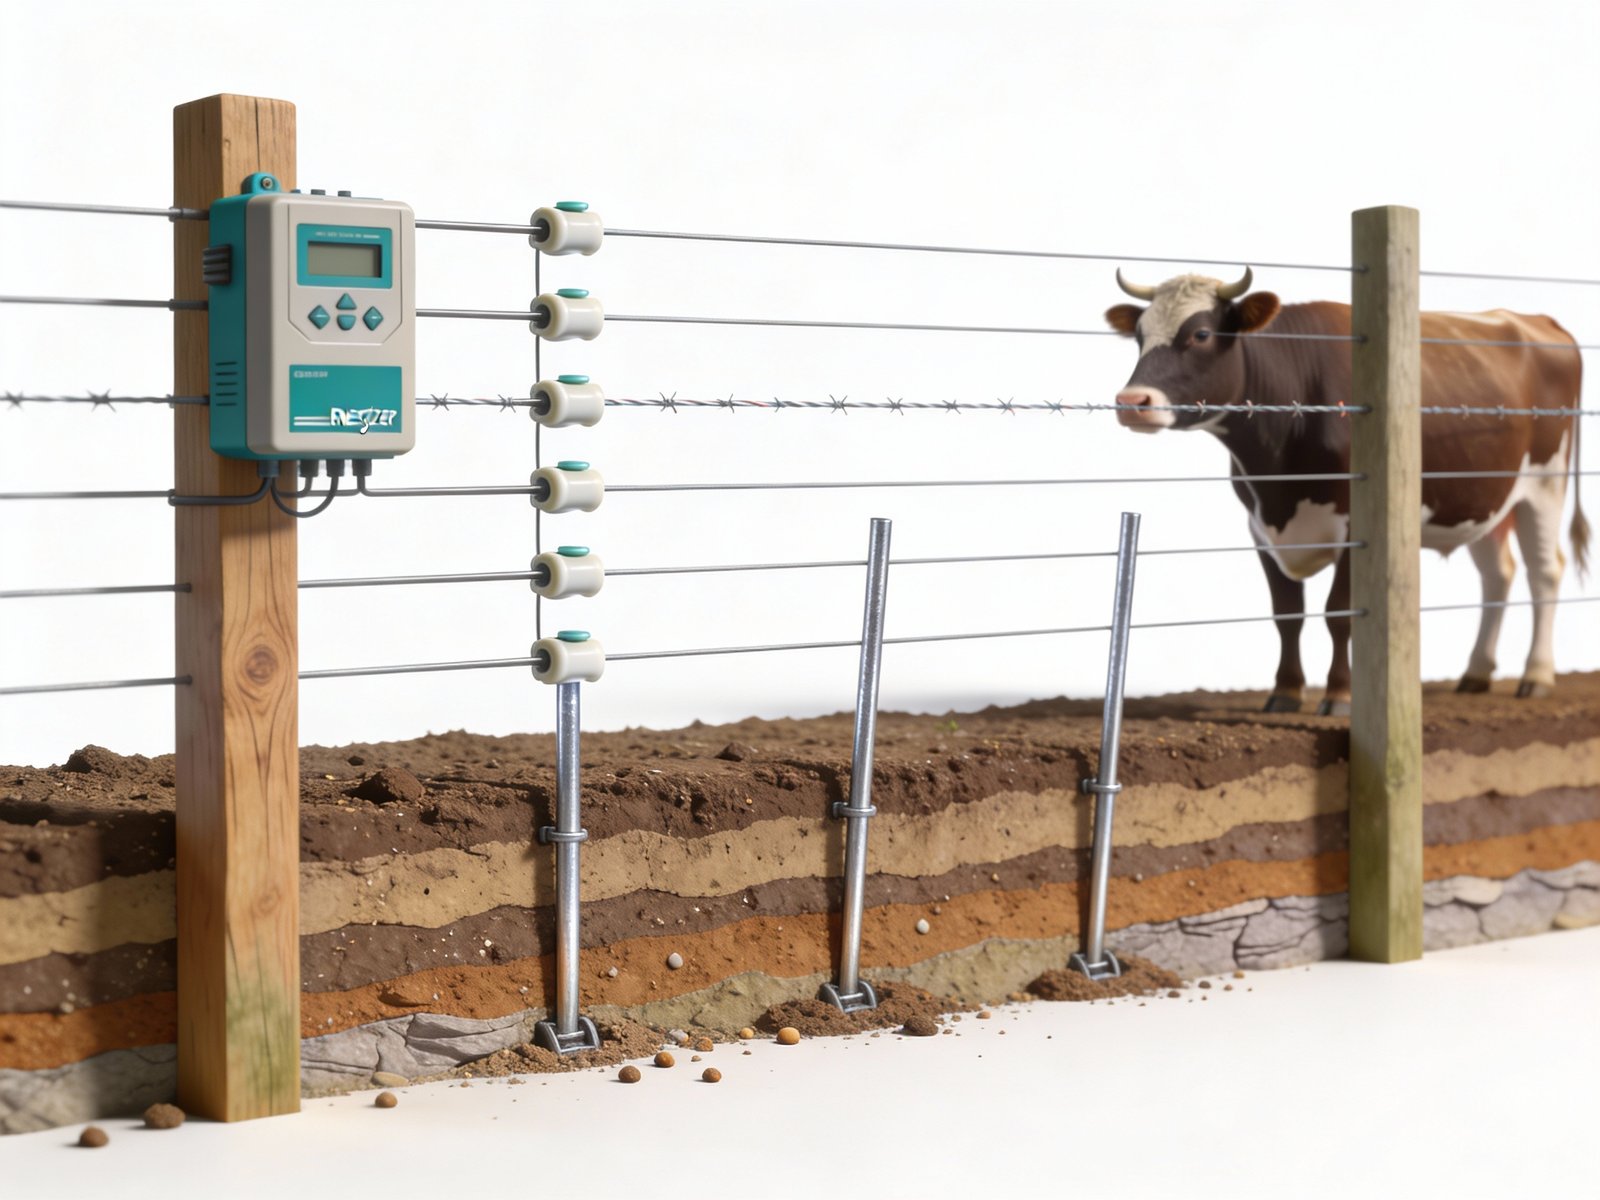
1.1 How Electric Fencing Works
In electric cattle fencing systems, the fence operates as a psychological barrier, not a physical one. The system delivers brief, memorable electric pulses that teach cattle to respect clearly visible boundaries.
Key Concept: Pulsed Current
Unlike continuous current, electric fence energizers produce short pulses at high voltage. Brief pulses prevent serious injury, create clear learning associations, allow continuous operation without overheating, and consume less power at the same voltage.
Once cattle experience one or two controlled shocks, they learn to recognize the fence visually. Even with the energizer temporarily off, trained cattle maintain distance because the electric cattle fencing system has created a strong psychological boundary.
Watch a visual explanation of the circuit
Why this video matters: This video visually explains how an electric fence functions as a complete electrical circuit, demonstrating the role of grounding rods, soil conductivity, and animal contact. It shows why voltage alone is insufficient without a proper return path, reinforcing that electric cattle fencing systems rely on a complete energizer–wire–grounding loop to work reliably.
For a step-by-step breakdown of circuit components and common failure points, see the dedicated guide on how electric cattle fencing works as a system.
1.2 Fence Type Selection
When you plan electric cattle fencing systems, your first structural decision is whether to use permanent, temporary, or hybrid layouts.
Permanent Electric Fence: Long-term investment with 15–30 year lifespan. Wood, metal, or fiberglass posts with high-strength wire and a fixed grounding system. Best for perimeter fencing. Typical initial cost $2,000–$5,000 per mile, with annual cost $100–$200 per mile.
Temporary Electric Fence: Flexible rapid deployment with 2–3 year lifespan. Poly wire or high-tensile wire on portable posts with movable grounding. Ideal for rotational grazing and short-term subdivisions. Typical initial cost $0.25–$1 per foot, with annual cost $50–$150 per mile.
Hybrid System: Permanent perimeter plus temporary internal divisions. Combines the security of a long-life perimeter with the flexibility of movable interior lines. Initial cost typically $1,500–$3,500 per mile, annual cost $100–$300 per mile.
If you are choosing between long-term infrastructure and flexible grazing layouts, see permanent vs temporary electric cattle fencing systems and electric vs woven wire cattle fence for perimeter control.
1.3 Energizer Basics
In electric cattle fencing systems, the energizer is the central power source that defines voltage, capacity, and overall reliability.
Voltage: The push driving current along the fence. Trained cattle typically need 2,000–3,500V, while untrained cattle require 4,500–5,500V to learn respect for the fence.
Joules: Energy per pulse. Higher joules help the system maintain effective shocks in wet conditions and through vegetation. As a rule of thumb, use around 0.5J for short rotational fences under 0.3 miles, 1–2J for 0.3–1 mile, and 5+J for long perimeter fences over 1 mile.
Power Sources: AC mains offers the highest reliability but less flexibility, DC battery provides moderate reliability with high portability, and solar systems provide independent operation with appropriate panel and battery sizing.
Common Mistake: Undersized Energizers
Many ranchers choose energizers with insufficient power, which leads to voltage drops in wet conditions or under heavy vegetation load. Practical rule: select one power level higher than the minimum you calculate, so the system maintains target voltage in real-world conditions.
To size energizers correctly for herd size, fence length, and vegetation, use the in-depth electric fence energizer selection guide, which walks through joules, voltage targets, and power sources for complete electric cattle fencing systems.
1.4 Wire & Materials Fundamentals
Wire and conductor choices determine how efficiently electric cattle fencing systems move current around the farm.
Stainless Poly: Baseline conductivity with strong corrosion resistance and good durability. Lower conductivity means more voltage drop over long distances, so it is best for short rotational grazing lanes.
Copper or Tinned Copper: High conductivity (around 40 times better than stainless poly) offers minimal voltage drop on long runs. However, it costs more and is more prone to corrosion if poorly protected, making it better suited for long perimeter fence runs where performance matters most.
High-Tensile Wire: Combines excellent conductivity with extreme durability and low stretch. It requires proper tensioners and sturdy end assemblies, so it is mainly used for permanent main fences in electric cattle fencing systems.
For detailed tables on conductivity, lifespan, and best-use scenarios, see the dedicated guide on wire & conductor material comparison for electric cattle fencing systems.
Part 1 Summary
- Electric cattle fencing systems create psychological barriers through learned behavior rather than physical force.
- Fence type selection (permanent, temporary, or hybrid) should match grazing strategy and time horizon.
- Energizer size and power source choices determine whether the system can maintain voltage under real-world conditions.
- Wire and conductor materials control how efficiently power moves through the system.
For deeper component-level analysis, open the cluster guides on how electric fencing works, energizer selection, and wire materials.
Part 2: System Design & Installation
This part turns fundamentals into a practical layout, showing how to design electric cattle fencing systems that connect energizers, grounding, fence geometry, and gates into one coherent plan.
2.1 Grounding System Design (MOST CRITICAL)
Critical Statement
Poor grounding causes roughly 80% of electric fence failures. The grounding network is the invisible foundation of electric cattle fencing systems—without proper grounding, even a high-quality energizer cannot deliver effective shocks.
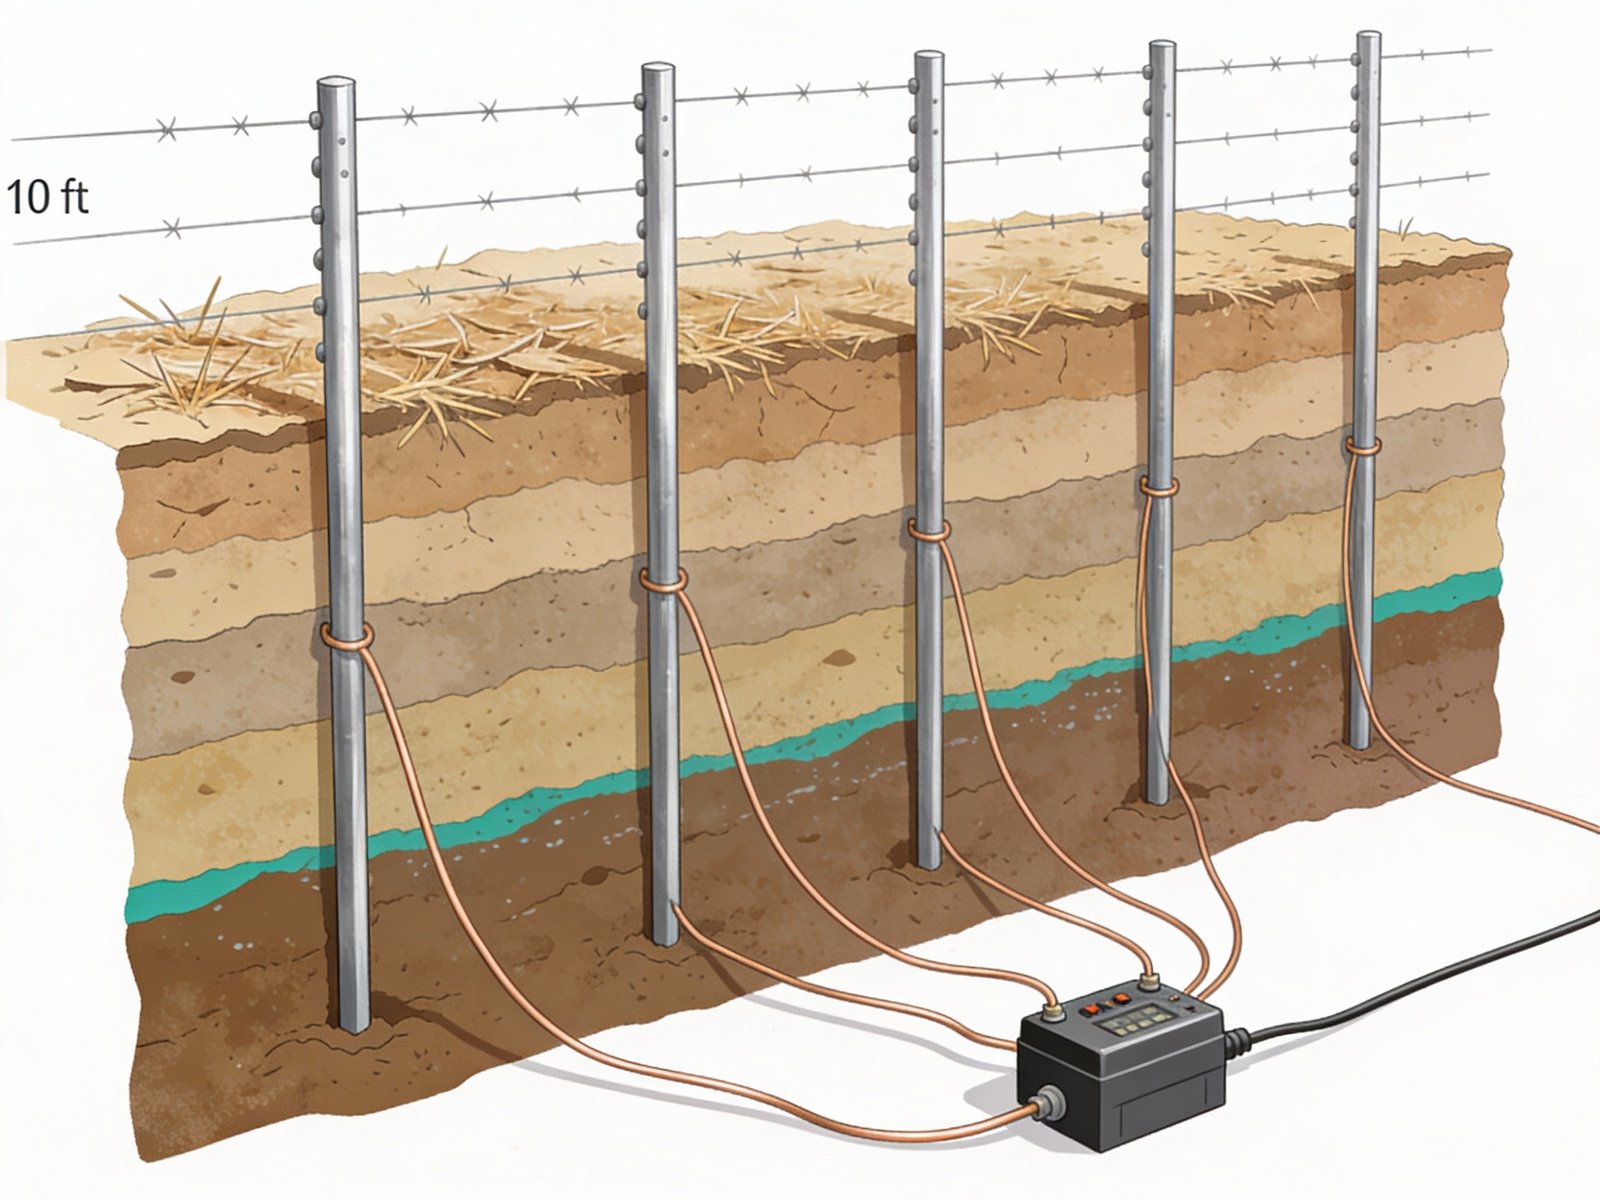
How Grounding Works
Current flows from the energizer along the hot wire, through the animal at the moment of contact, into the soil, through the grounding rods, and back to the energizer ground terminal. If the grounding system is too small, too shallow, or poorly connected, the circuit cannot close and the shock the animal feels is dramatically reduced.
Grounding Rod Formula
Total Ground Rod Length = Energizer Joules × 3 feet
Example 1: 15-joule energizer
Calculation: 15 × 3 = 45 feet
Installation: 3–4 ground rods, 6–8 feet long, spaced 10 feet apart in moist soil.
Example 2: 28-joule energizer
Calculation: 28 × 3 = 84 feet
Installation: 6–8 ground rods, 6–8 feet long, spaced 10 feet apart, all bonded with a continuous ground wire.
Installation Requirements: Place the grounding array near the energizer but at least 10 meters from buildings and existing water or power lines. Space rods at least 10 feet apart, drive them 6–8 feet deep into moist soil, and use smooth galvanized steel rods with corrosion-resistant clamps on each connection. Test with an ohm meter and aim for readings under 200 ohms, ideally below 100 ohms, for reliable system performance.
Soil Type Adjustments: Clay or loam soils conduct well and may let you reduce rod count slightly. Sandy soils conduct poorly and typically require additional rods, deeper placement, and possibly soil enhancement around rods. Rocky soils often need drilled holes or bentonite-enhanced ground rods to reach consistent moisture and ensure the electric cattle fencing system can complete the circuit.
For soil-specific rod layouts, resistance testing methods, and troubleshooting low-shock issues, use the step-by-step grounding system design & testing guide that expands this grounding section into a full implementation manual.
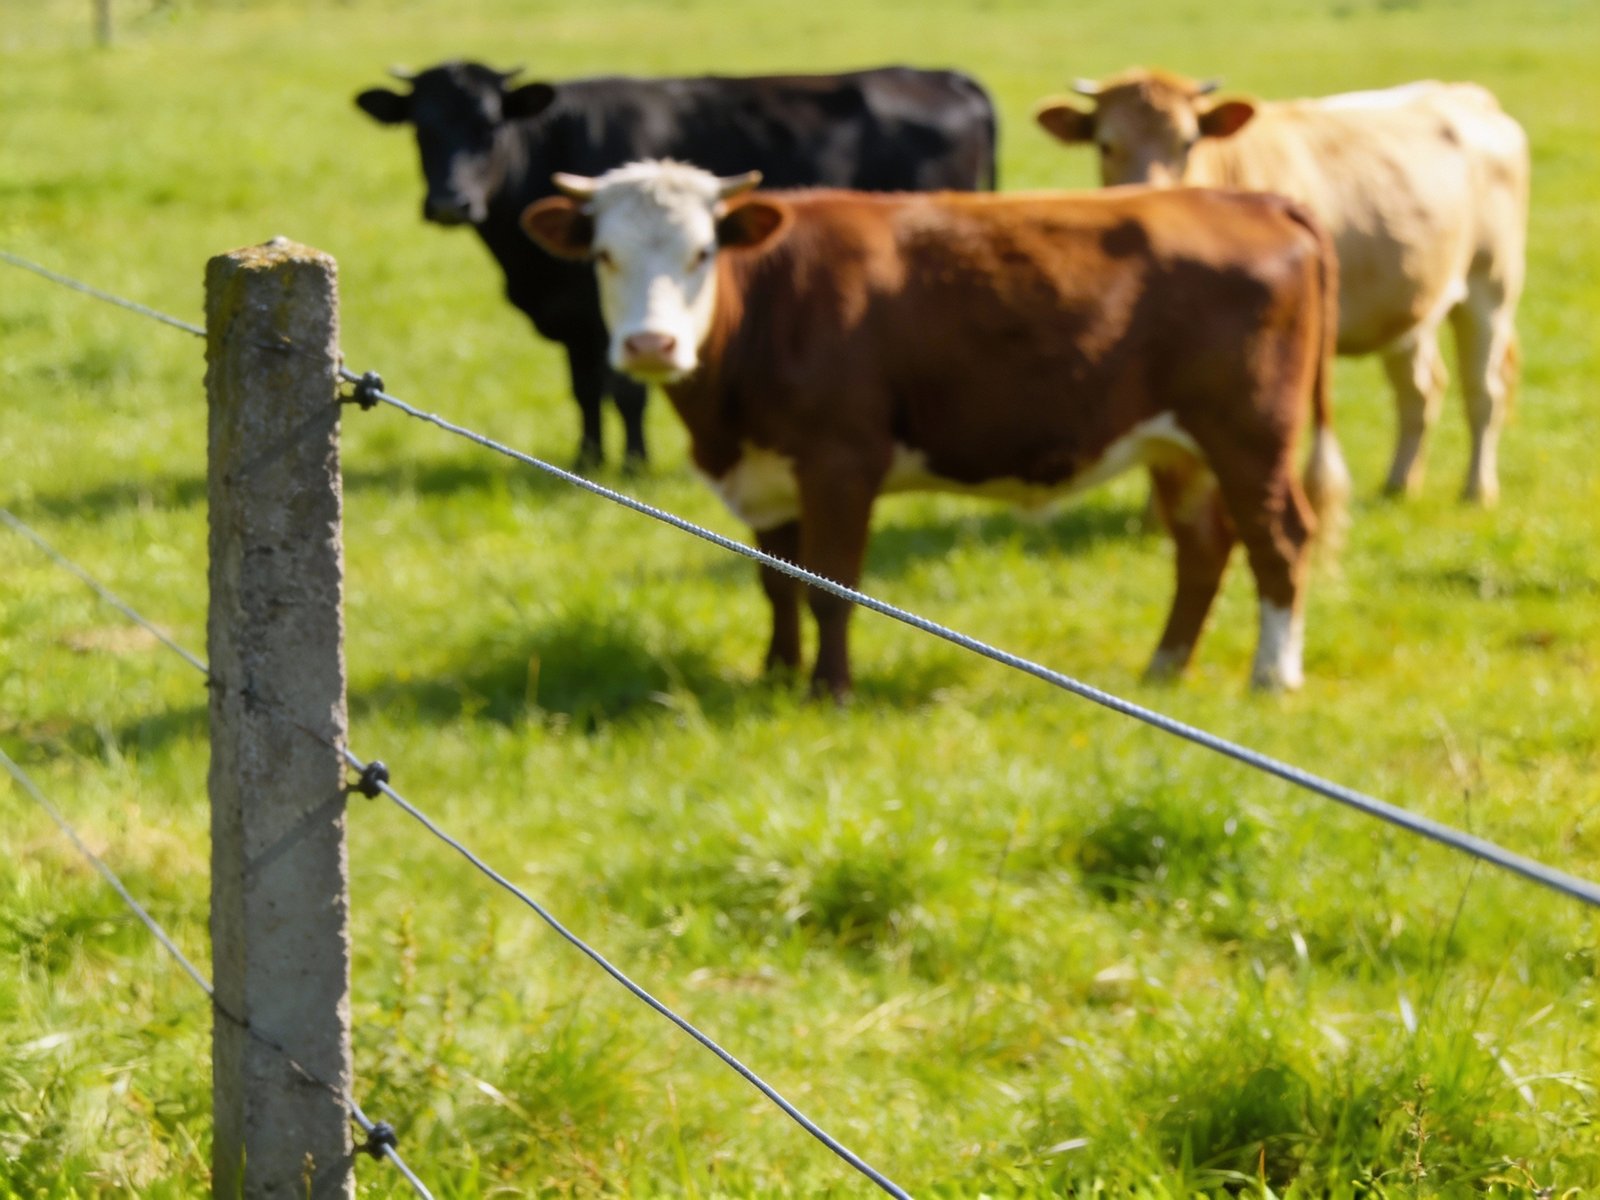
2.2 Fence Geometry & Wire Height
Good geometry ensures that electric cattle fencing systems intercept animals at the right height, with enough wires for behavior and safety.
Dairy Cattle (no calves): One to two wires at approximately 90 cm height, targeting 2,000–3,000V. The emphasis is on a clean visual barrier and consistent shock at neck or shoulder level.
Beef Cattle with Calves: Two to three wires spaced 30–45 cm apart, with the lowest wire near calf nose height and the top wire 75–90 cm high. Aim for 3,000–4,000V so both cows and calves respect the fence.
Bulls: Three to four wires spaced 25–40 cm apart, with top wires around 90–120 cm. Voltage should be 3,500–5,000V to deter pushing, leaning, or testing the fence.
For diagrams and layout templates by animal class and terrain, refer to fence geometry & layout design for electric cattle fencing systems.
2.3 Gate System Design
Gates are structural and electrical weak points, so electric cattle fencing systems need gate designs that preserve both animal control and circuit continuity.
Use insulated gate handles on both sides of the opening so the hot wire is safely disconnected when the gate is open. Install underground insulated lead-out cable beneath the gate so the hot line continues on the far side even when the physical gate is open. Add spring or self-closing mechanisms so animals cannot push gates open, and use self-locking latches that stay secure during daily operations.
At every gate, verify that high-conductivity connections exist between the permanent fence wires and the lead-out cable, because poor junctions can create significant voltage drops that weaken the system downstream.
For illustrated diagrams of gate loops, underground cable routing, and multi-gate layouts, see the step-by-step electric fence installation guide, which expands these design principles into field-ready instructions.
Part 2 Summary
- Grounding arrays sized by the “joules × 3 feet” rule are central to reliable electric cattle fencing systems.
- Rod spacing, depth, and soil conditions determine whether animals receive a full shock.
- Wire heights and number of strands must match animal class and behavior, not just generic rules.
- Gate assemblies must preserve electrical continuity through underground cables and robust connections.
To turn this framework into a construction plan, start with the detailed clusters on grounding design & testing and fence installation.
Part 3: Operations & Management
Once electric cattle fencing systems are built, daily management, cattle training, and grazing strategy determine how well they perform over time.
3.1 Cattle Training (Critical Success Factor)
Untrained cattle are more likely to challenge fences, so a short training period is essential to make the system work with behavior instead of brute strength.
Training Protocol
Duration: 1–2 days in a small, safe training paddock with backup physical fencing.
Voltage: 4,500–5,500V for untrained animals to ensure a clear first experience.
Wire type: Use the same wire type and visual markers as in your permanent system.
Outcome: After a few brief shocks, cattle associate the sight of the fence with discomfort and maintain distance automatically.
When electric cattle fencing systems are paired with structured training, the fence becomes a reliable visual boundary rather than a frequent point of conflict, which reduces stress on animals and infrastructure.
For step-by-step training setups, herd introduction sequences, and troubleshooting fearful or aggressive animals, see the dedicated cattle training with electric fencing guide.
3.2 Rotational Grazing Integration
Electric cattle fencing systems make intensive and rotational grazing practical by allowing fast, precise control over paddock size and timing.
Hybrid System Approach: Use a permanent perimeter fence built with high-tensile or multi-strand wire to secure the boundary, then create internal paddocks with temporary poly wire on portable posts. Adjust internal lines daily or weekly to match forage growth, stocking rate, and weather, improving pasture utilization and recovery.
For layout examples, paddock sizing formulas, and case studies, open the guide on rotational grazing with electric cattle fencing systems.
3.3 Seasonal & Weather Management
Performance changes with seasons, so electric cattle fencing systems need a simple seasonal routine to stay reliable.
Winter: Move battery energizers indoors around 18°C and charge monthly. Keep snow and ice off solar panels. Monitor wires for breakage as metal shrinks in cold temperatures.
Summer: Clear vegetation that touches wires, especially tall wet grasses that can bleed voltage. Heat can loosen mechanical connections, so check key junctions and tighten hardware as needed.
Rainy Periods: Moist soil usually improves earth return, but heavy rain can push plants into hot wires and create shorts. Inspect lines after storms to remove branches, debris, or vegetation caught on the fence.
For month-by-month checklists and climate-specific recommendations, see the weather & seasonal management guide.
Part 3 Summary
- Short, structured training turns electric cattle fencing systems into predictable psychological barriers.
- Hybrid perimeter-plus-internal layouts enable rotational grazing without rebuilding fences.
- Seasonal routines keep voltage stable despite weather, vegetation, and temperature shifts.
For operational playbooks you can adapt to your farm, rely on the clusters for cattle training, rotational grazing, and seasonal management.
Part 4: Maintenance & Troubleshooting
Even well-designed electric cattle fencing systems need routine checks and a clear troubleshooting method to stay effective year after year.
4.1 Maintenance Schedule
Weekly: Walk key stretches and check for vegetation contact, fallen branches, or broken insulators. For battery systems, confirm indicator lights and voltage.
Monthly: Use a fence tester at multiple locations; aim for at least 3,000V on cattle fences. Note drops between points to identify where the system is losing power.
Seasonally: Inspect all major connections, strainers, and gate assemblies. Test grounding resistance and tighten any loose clamps or connectors.
Annually: Service or test the energizer, replace worn leads or insulators, and do a full ground-rod performance check to confirm the system is still within target resistance.
4.2 Systematic Troubleshooting
Because most issues trace back to earthing or shorts, effective troubleshooting follows a consistent sequence rather than random adjustments.
Troubleshooting Checklist (In Order)
- Energizer Power: Verify the energizer is on, and check mains outlets or battery state.
- Fence Voltage Near Energizer: Measure the voltage close to the energizer output terminal on a clean section of fence.
- Vegetation Contact: Walk the line and remove grass, branches, or other material touching live wires.
- Visible Damage: Look for broken wires, cracked insulators, or loose gate handles.
- Grounding Resistance: Test with appropriate tools and aim for less than 200 ohms, ideally below 100.
- Connection Quality: Inspect all clamps, joints, and underground cable splices for corrosion or looseness.
Most Common Issues
- Inadequate grounding (too few rods, insufficient depth, or dry soil contact).
- Loose or corroded ground connections around rods and energizer.
- Heavy vegetation or wet plants touching hot wires and bleeding voltage.
- Damaged or aged insulators allowing current leakage to posts.
For flowcharts, voltage benchmarks, and case examples, see the full troubleshooting guide for electric cattle fencing systems.
Part 4 Summary
- Simple weekly, monthly, seasonal, and annual routines keep systems stable.
- Most performance problems are solved by checking power, vegetation, and grounding.
- Consistent troubleshooting steps prevent wasted time and missed root causes.
Use the troubleshooting cluster on diagnosing low voltage & failures when the fence tester shows unexpected readings.
Part 5: Economics & Safety
This part helps you justify investment in electric cattle fencing systems and operate them safely for people, animals, and neighbors.
5.1 Cost Analysis & ROI
Electric cattle fencing systems usually pay for themselves in 3–5 years through lower materials, reduced labor, and improved grazing efficiency.
Electric Fence: Typical initial investment ranges from $500–$5,000 depending on length and hardware, with Year 1 total cost between $500–$5,500. Over five years, total costs often land around $2,000–$7,500 with ongoing annual costs of roughly $100–$400.
Barbed Wire: Perimeter builds can reach $31,735 per mile initially, with Year 1 total around $33,850 and Year 5 total near $42,335 when materials and labor are included.
High-Tensile Non-Electric: Initial builds can cost around $35,118 per mile, with Year 1 totals near $36,282 and Year 5 totals in the low $40,000s due to maintenance and repair.
Key Return Drivers: Faster installation, less material per mile, lower repair costs, and higher pasture utilization from rotational grazing all contribute to faster payback on electric cattle fencing systems compared to traditional options.
For spreadsheets, example budgets, and scenario-based payback timelines, visit the cost comparison & ROI analysis for electric cattle fencing systems.
5.2 Safety Guidelines & Compliance
Well-designed electric cattle fencing systems rely on short, controlled pulses, but they still require clear safety practices and adherence to local rules.
Core Safety Practices: Use clearly visible warning signs along public or shared boundaries. Inform neighbors and frequent visitors that fences are electrified. Ensure that people with pacemakers or other implanted devices avoid intentional contact. Keep children away from energizers, ground rods, and high-voltage equipment. House mains energizers in a dry, secure location, and protect solar panels from accidental damage.
Compliance Considerations: Follow relevant electrical and fencing standards in your region, use certified energizers and components, and avoid electrifying barbed wire because of entanglement risks. Maintain basic documentation of installation layout, energizer specifications, and major maintenance events in case of insurance or inspection needs.
Because electric cattle fencing systems use short pulses, healthy humans and livestock typically only experience brief discomfort. Nonetheless, anyone with medical devices or specific health conditions should seek medical advice before any contact, and operators should treat the system as specialized equipment that requires clear instructions for all staff and family members.
For checklists, signage recommendations, and risk-mitigation tips, see safety, compliance & regulations for electric cattle fencing and the companion guide on lightning protection & surge prevention.
Part 5 Summary
- Electric cattle fencing systems typically offer lower long-term costs than traditional barbed or non-electric high-tensile fences.
- Most of the return comes from labor savings and better pasture management.
- Clear signage, neighbor communication, and good installation practices keep systems safe.
For detailed financial and risk planning, open the clusters on cost & ROI and safety & compliance.
Frequently Asked Questions
Related In-Depth Guides
- How Electric Fencing Works as a System
- Electric Fence Energizer Selection Guide
- Grounding System Design & Testing
- Step-by-Step Electric Fence Installation
- Troubleshooting Low Voltage & Fence Failures
- Cost Comparison & ROI Analysis
- Rotational Grazing Electric Fencing
- Weather & Seasonal Management
- Safety Compliance & Regulations
- Wire & Conductor Material Comparison
Plan Your Electric Cattle Fencing System
Use this systems-level guide, then dive into the linked sub-guides to finalize design, installation, and management for your operation.
This page serves as the central hub for electric cattle fencing systems. Bookmark it as your starting point before exploring the specialized guides linked throughout.